VIDEO-CLIPS-5g
Shaolin Kungfu in Sabah 2010

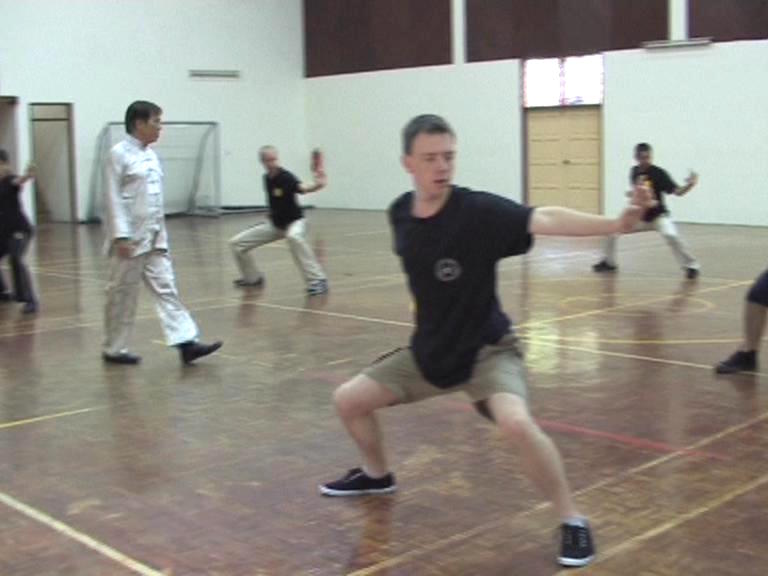 Sabah Shaolin 2010 -- Shaolin 01
Sabah Intensive Shaolin Kungfu Course
Sabah Shaolin 2010 -- Shaolin 01
Sabah Intensive Shaolin Kungfu Course2010 -- Overview
Chi Flow and Standing Zen -- Part 1
Chi Flow and Standing Zen -- Part 2
Chi Flow and Standing Zen -- Part 3
Chi Flow and Standing Zen -- Part 4
Chi Flow and Standing Zen -- Part 5
Chi Flow and Standing Zen -- Part 6
Chi Flow and Standing Zen -- Part 7
Chi Flow and Standing Zen -- Part 8
Chi Flow and Standing Zen -- Part 9
Chi Flow and Standing Zen -- Part 10
Developing Internal Force and Mental Clarity -- Part 1
Developing Internal Force and Mental Clarity -- Part 2
Developing Internal Force and Mental Clarity -- Part 3
Developing Internal Force and Mental Clarity -- Part 4
Developing Internal Force and Mental Clarity -- Part 5
Developing Internal Force and Mental Clarity -- Part 6
Developing Internal Force and Mental Clarity -- Part 7
Developing Internal Force and Mental Clarity -- Part 8
Two Crcuial Steps in Stance Training -- Part 1
Two Crcuial Steps in Stance Training -- Part 2
Two Crcuial Steps in Stance Training -- Part 3
Two Crcuial Steps in Stance Training -- Part 4
Two Crcuial Steps in Stance Training -- Part 5
Two Crcuial Steps in Stance Training -- Part 6
Two Crcuial Steps in Stance Training -- Part 7
Two Crcuial Steps in Stance Training -- Part 8
Two Crcuial Steps in Stance Training -- Part 9
Two Crcuial Steps in Stance Training -- Part 10
Two Crcuial Steps in Stance Training -- Part 11
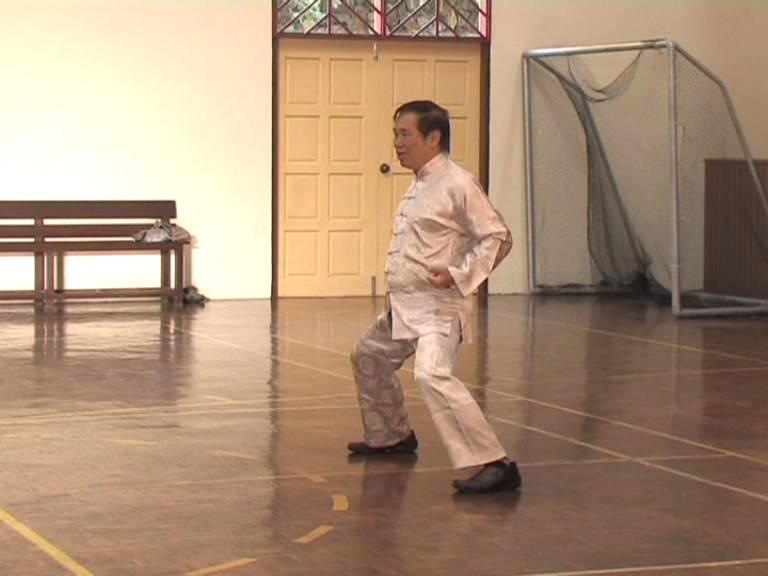 Two Crcuial Steps in Stance Training -- Part 12
The Art of Flexibility -- Part 1
The Art of Flexibility -- Part 2
The Art of Flexibility -- Part 3
The Art of Flexibility -- Part 4
The Art of Flexibility -- Part 5
The Art of Flexibility -- Part 6
The Art of Flexibility -- Part 7
The Art of Flexibility -- Part 8
Footwork is often More Important than Techniques -- Part 1
Footwork is often More Important than Techniques -- Part 2
Footwork is often More Important than Techniques -- Part 3
Footwork is often More Important than Techniques -- Part 4
Footwork is often More Important than Techniques -- Part 5
Footwork is often More Important than Techniques -- Part 6
Footwork is often More Important than Techniques -- Part 7
Footwork is often More Important than Techniques -- Part 8
Footwork is often More Important than Techniques -- Part 9
Footwork is often More Important than Techniques -- Part 10
Footwork is often More Important than Techniques -- Part 11
Stepping and Gliding Forward and Backward -- Part 1
Stepping and Gliding Forward and Backward -- Part 2
Stepping and Gliding Forward and Backward -- Part 3
Stepping and Gliding Forward and Backward -- Part 4
Stepping and Gliding Forward and Backward -- Part 5
Stepping and Gliding Forward and Backward -- Part 6
Stepping and Gliding Forward and Backward -- Part 7
Stepping and Gliding Forward and Backward -- Part 8
Stepping and Gliding Forward and Backward -- Part 9
Agile and Stable at the Same Time -- Part 1
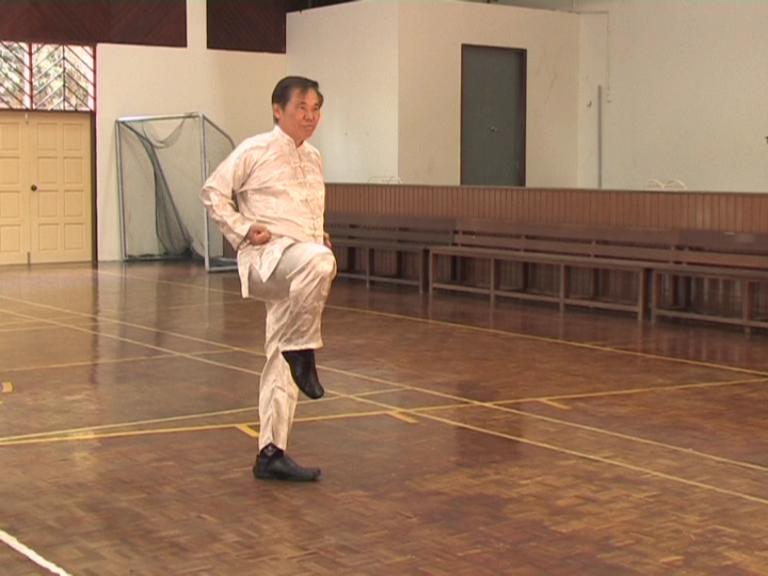 Agile and Stable at the Same Time -- Part 2
Agile and Stable at the Same Time -- Part 3
Agile and Stable at the Same Time -- Part 4
Agile and Stable at the Same Time -- Part 5
Agile and Stable at the Same Time -- Part 6
Agile and Stable at the Same Time -- Part 7
Agile and Stable at the Same Time -- Part 8
Being Fast without Consciously Attempting to be Fast -- Part 1
Being Fast without Consciously Attempting to be Fast -- Part 2
Being Fast without Consciously Attempting to be Fast -- Part 3
Being Fast without Consciously Attempting to be Fast -- Part 4
Being Fast without Consciously Attempting to be Fast -- Part 5
Being Fast without Consciously Attempting to be Fast -- Part 6
Turning to Different Directions in Numerous Ways -- Part 7
Being Fast without Consciously Attempting to be Fast -- Part 8
Being Fast without Consciously Attempting to be Fast -- Part 9
Being Fast without Consciously Attempting to be Fast -- Part 10
Being Fast without Consciously Attempting to be Fast -- Part 11
Turning to Different Directions in Numerous Ways -- Part 1
Turning to Different Directions in Numerous Ways -- Part 2
Turning to Different Directions in Numerous Ways -- Part 3
Turning to Different Directions in Numerous Ways -- Part 4
Turning to Different Directions in Numerous Ways -- Part 5
Turning to Different Directions in Numerous Ways -- Part 6
Turning to Different Directions in Numerous Ways -- Part 7
Turning to Different Directions in Numerous Ways -- Part 8
Turning to Different Directions in Numerous Ways -- Part 9
Turning to Different Directions in Numerous Ways -- Part 10
Turning to Different Directions in Numerous Ways -- Part 11
Chi Flow and Standing Zen -- Overview
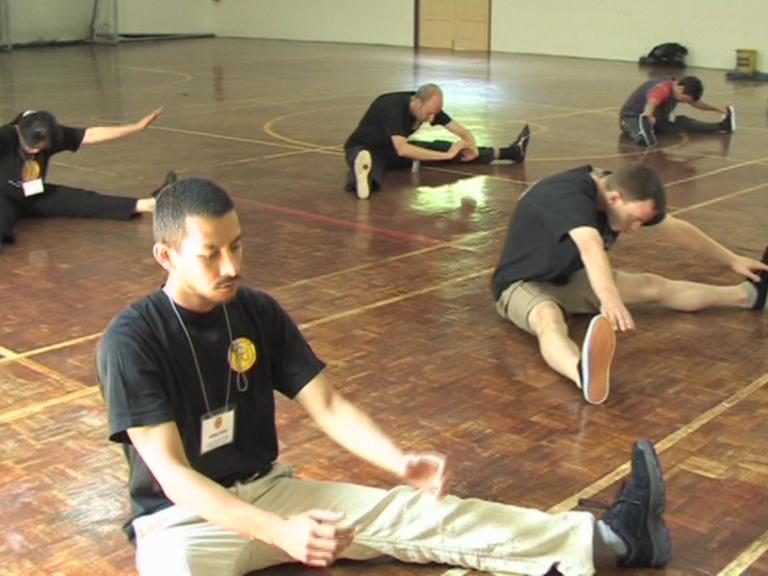 Developing Internal Force and Mental Clarity
-- Overview
Two Crcuial Steps in Stance Training -- Overview
The Art of Flexibility -- Overview
Footwork is often More Important than
Techniques -- Overview
Stepping and Gliding Forward and Backward
-- Overview
Agile and Stable at the Same Time -- Overview
Being Fast without Consciously Attempting
to be Fast -- Overview
Turning to Different Directions in Numerous
Ways -- Overview
Sabah Shaolin 2010 -- Shaolin 02 Shaolin Hand Forms -- Part 1
Shaolin Hand Forms -- Part 2
Shaolin Hand Forms -- Part 3
Shaolin Hand Forms -- Part 4
Shaolin Hand Forms -- Part 5
Shaolin Hand Forms -- Part 6
Shaolin Hand Forms -- Part 7
Shaolin Hand Forms -- Part 8
Shaolin Hand Forms -- Part 9
Shaolin Hand Forms -- Part 10
Shaolin Hand Forms -- Part 11
Shaolin Hand Forms -- Part 12
The External Harmonies of Feet, Body and Hands -- Part 1
The External Harmonies of Feet, Body and Hands -- Part 2
The External Harmonies of Feet, Body and Hands -- Part 3
The External Harmonies of Feet, Body and Hands -- Part 4
The External Harmonies of Feet, Body and Hands -- Part 5
The External Harmonies of Feet, Body and Hands -- Part 6
The External Harmonies of Feet, Body and Hands -- Part 7
The Three Internal Harmonies of Essence, Energy and Mind -- Part 1
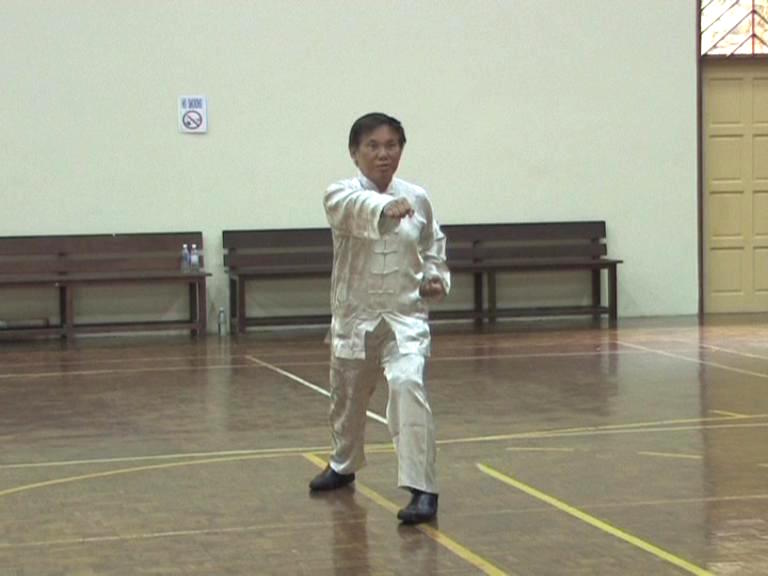 The Three Internal Harmonies of Essence, Energy
and Mind -- Part 2
The Three Internal Harmonies of Essence, Energy
and Mind -- Part 3
The Three Internal Harmonies of Essence, Energy
and Mind -- Part 4
The Three Internal Harmonies of Essence, Energy
and Mind -- Part 5
The Three Internal Harmonies of Essence, Energy
and Mind -- Part 6
The Three Internal Harmonies of Essence, Energy
and Mind -- Part 7
Fa-Jing, or Exploding Force -- Part 1
Fa-Jing, or Exploding Force -- Part 2
Fa-Jing, or Exploding Force -- Part 3
Fa-Jing, or Exploding Force -- Part 4
Fa-Jing, or Exploding Force -- Part 5
Fa-Jing, or Exploding Force -- Part 6
Fa-Jing, or Exploding Force -- Part 7
Fa-Jing, or Exploding Force -- Part 8
Minimum Force against Maximum Strength -- Part 1
Minimum Force against Maximum Strength -- Part 2
Minimum Force against Maximum Strength -- Part 3
Minimum Force against Maximum Strength -- Part 4
Minimum Force against Maximum Strength -- Part 5
Minimum Force against Maximum Strength -- Part 6
Minimum Force against Maximum Strength -- Part 7
Minimum Force against Maximum Strength -- Part 8
Minimum Force against Maximum Strength -- Part 9
Minimum Force against Maximum Strength -- Part 10
Minimum Force against Maximum Strength -- Part 11
Minimum Force against Maximum Strength -- Part 12
Minimum Force against Maximum Strength -- Part 13
Minimum Force against Maximum Strength -- Part 14
No Defence Direct Counter -- Part 1
No Defence Direct Counter -- Part 2
 No Defence Direct Counter -- Part 3
No Defence Direct Counter -- Part 3
No Defence Direct Counter -- Part 5
No Defence Direct Counter -- Part 6
No Defence Direct Counter -- Part 7
No Defence Direct Counter -- Part 8
No Defence Direct Counter -- Part 9
No Defence Direct Counter -- Part 10
No Defence Direct Counter -- Part 11
No Defence Direct Counter -- Part 12
No Defence Direct Counter -- Part 13
No Defence Direct Counter -- Part 14
No Defence Direct Counter -- Part 15
Shaolin Hand Forms -- Overview
The Three External Harmonies of Feet, Body and Hands -- Overview
The Three Internal Harmonies of Essence, Energy and Mind -- Overview
Fa-Jing, or Exploding Force -- Overview
Minimum Force against Maximum Strength -- Overview
No Defence Direct Counter -- Overview
Sabah Shaolin 2010 -- Shaolin 03 Linking Patterns into a Set -- Part 1
Linking Patterns into a Set -- Part 2
Linking Patterns into a Set -- Part 3
Linking Patterns into a Set -- Part 4
Linking Patterns into a Set -- Part 5
Linking Patterns into a Set -- Part 6
Linking Patterns into a Set -- Part 7
Linking Patterns into a Set -- Part 8
Linking Patterns into a Set -- Part 9
Moving In and Right Spacing -- Part 1
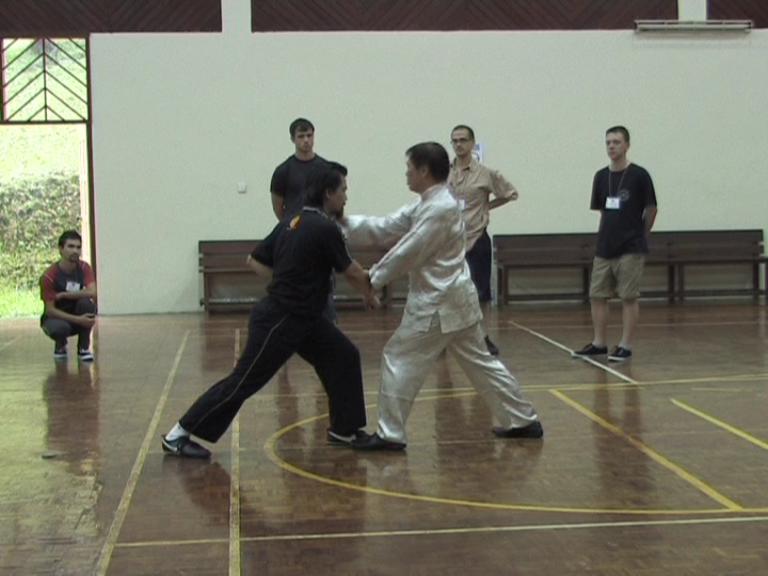 Moving In and Right Spacing -- Part 2
Moving In and Right Spacing -- Part 3
Moving In and Right Spacing -- Part 4
Moving In and Right Spacing -- Part 5
Moving In and Right Spacing -- Part 6
Moving In and Right Spacing -- Part 7
Moving In and Right Spacing -- Part 8
Developing the Skills of Counter-Striking
and of Judgment -- Part 1
Developing the Skills of Counter-Striking
and of Judgment -- Part 2
Developing the Skills of Counter-Striking
and of Judgment -- Part 3
Developing the Skills of Counter-Striking and of Judgment -- Part 4
Developing the Skills of Counter-Striking and of Judgment -- Part 5
Developing the Skills of Counter-Striking and of Judgment -- Part 6
Developing the Skills of Counter-Striking and of Judgment -- Part 7
Developing the Skills of Counter-Striking and of Judgment -- Part 8
Developing the Skills of Counter-Striking and of Judgment -- Part 9
Developing the Skills of Counter-Striking and of Judgment -- Part 10
The Secrets of Single Tiger Emerges from Cave -- Part 1
The Secrets of Single Tiger Emerges from Cave -- Part 2
The Secrets of Single Tiger Emerges from Cave -- Part 3
The Secrets of Single Tiger Emerges from Cave -- Part 4
The Secrets of Single Tiger Emerges from Cave -- Part 5
The Secrets of Single Tiger Emerges from Cave -- Part 6
The Secrets of Single Tiger Emerges from Cave -- Part 7
The Secrets of Single Tiger Emerges from Cave -- Part 8
The Secrets of Single Tiger Emerges from Cave -- Part 9
The Secrets of Single Tiger Emerges from Cave -- Part 10
The Secrets of Single Tiger Emerges from Cave -- Part 11
Different Responses for Attacks from Differnt Heights -- Part 1
Different Responses for Attacks from Differnt Heights -- Part 2
 Different Responses for Attacks from Differnt
Heights -- Part 3
Different Responses for Attacks from Differnt
Heights -- Part 4
Different Responses for Attacks from Differnt
Heights -- Part 5
Different Responses for Attacks from Differnt
Heights -- Part 6
Different Responses for Attacks from Differnt
Heights -- Part 7
Different Responses for Attacks from Differnt
Heights -- Part 8
Different Responses for Attacks from Differnt Heights -- Part 9
The Tactic of No Defence Direct Counter -- Part 1
The Tactic of No Defence Direct Counter -- Part 2
The Tactic of No Defence Direct Counter -- Part 3
The Tactic of No Defence Direct Counter -- Part 4
The Tactic of No Defence Direct Counter -- Part 5
The Tactic of No Defence Direct Counter -- Part 6
The Tactic of No Defence Direct Counter -- Part 7
The Tactic of No Defence Direct Counter -- Part 8
The Tactic of No Defence Direct Counter -- Part 9
The Tactic of No Defence Direct Counter -- Part 10
The Tactic of No Defence Direct Counter -- Part 1
The Tactic of No Defence Direct Counter -- Part 2
The Tactic of No False-False, Real-Real -- Part 3
The Tactic of No False-False, Real-Real -- Part 4
The Tactic of No False-False, Real-Real -- Part 5
The Tactic of No False-False, Real-Real -- Part 6
The Tactic of No False-False, Real-Real -- Part 7
The Tactic of No False-False, Real-Real -- Part 8
The Tactic of No False-False, Real-Real -- Part 9
Linking Patterns into a Set -- Overview
Moving In and Right Spacing -- Overview
Developing the Skills of Counter-Striking and of Judgment
-- Overview
The Secrets of Single Tiger Emerges from Cave -- Overview
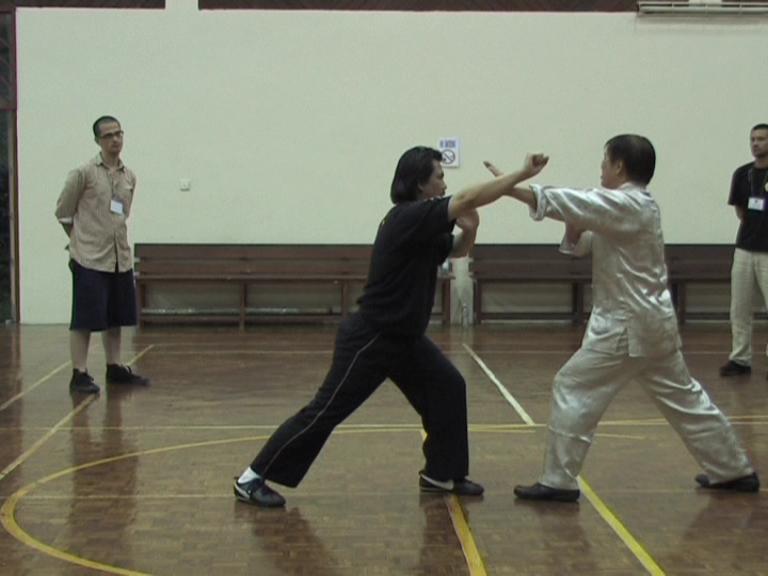 Different Responses for Attacks from Differnt
Heights -- Overview
The Tactic of No Defence Direct Counter -- Overview
The Tactic of No False-False, Real-Real -- Overview
Sabah Shaolin 2010 -- Shaolin 04 The Advantages of using a Poise Pattern -- Part 1
The Advantages of using a Poise Pattern -- Part 2
The Advantages of using a Poise Pattern -- Part 3
The Advantages of using a Poise Pattern -- Part 4
The Advantages of using a Poise Pattern -- Part 5
The Advantages of using a Poise Pattern -- Part 6
The Advantages of using a Poise Pattern -- Part 7
The Advantages of using a Poise Pattern -- Part 8
Asking the Way -- Part 1
Asking the Way -- Part 2
Asking the Way -- Part 3
Asking the Way -- Part 4
Asking the Way -- Part 5
Asking the Way -- Part 6
Asking the Way -- Part 7
Asking the Way -- Part 8
The Crucial Last Step in Moving In -- Part 1
The Crucial Last Step in Moving In -- Part 2
The Crucial Last Step in Moving In -- Part 3
The Crucial Last Step in Moving In -- Part 4
The Crucial Last Step in Moving In -- Part 5
The Crucial Last Step in Moving In -- Part 6
The Crucial Last Step in Moving In -- Part 7
The Crucial Last Step in Moving In -- Part 8
Making Footwork Adjustment -- Part 1
Making Footwork Adjustment -- Part 2
Making Footwork Adjustment -- Part 3
Making Footwork Adjustment -- Part 4
Making Footwork Adjustment -- Part 5
Making Footwork Adjustment -- Part 6
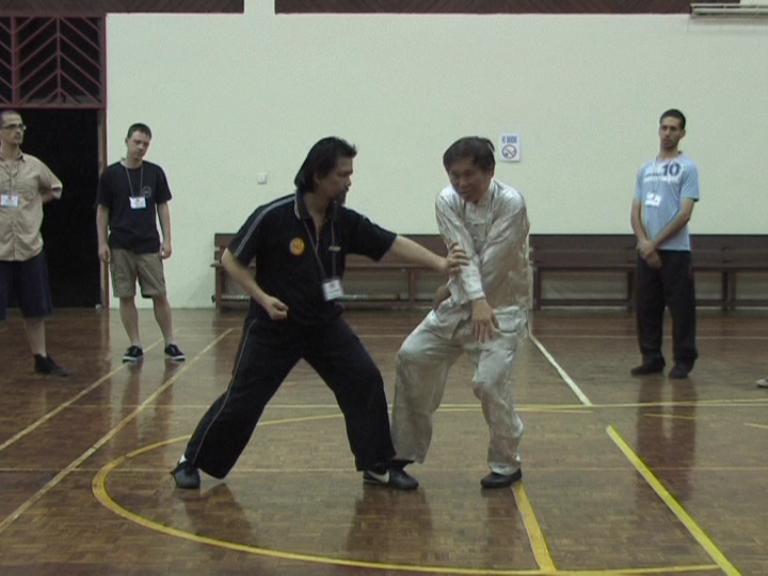 Making Footwork Adjustment -- Part 7
Making Footwork Adjustment -- Part 8
Stance-Training Poises to Develop Internal Force -- Part 1
Stance-Training Poises to Develop Internal Force -- Part 2
Stance-Training Poises to Develop Internal Force -- Part 3
Stance-Training Poises to Develop Internal Force -- Part 4
Stance-Training Poises to Develop Internal Force -- Part 5
Stance-Training Poises to Develop Internal Force -- Part 6
Stance-Training Poises to Develop Internal Force -- Part 7
Stance-Training Poises to Develop Internal Force -- Part 8
Stance-Training Poises to Develop Internal Force -- Part 9
Stance-Training Poises to Develop Internal Force -- Part 10
Get the Form Correct and be Relaxed -- Part 1
Get the Form Correct and be Relaxed -- Part 2
Get the Form Correct and be Relaxed -- Part 3
Get the Form Correct and be Relaxed -- Part 4
Get the Form Correct and be Relaxed -- Part 5
Get the Form Correct and be Relaxed -- Part 6
Get the Form Correct and be Relaxed -- Part 7
Get the Form Correct and be Relaxed -- Part 8
Yin-Yang Harmony of Solidity and Agility -- Part 1
Yin-Yang Harmony of Solidity and Agility -- Part 2
Yin-Yang Harmony of Solidity and Agility -- Part 3
Yin-Yang Harmony of Solidity and Agility -- Part 4
Yin-Yang Harmony of Solidity and Agility -- Part 5
Yin-Yang Harmony of Solidity and Agility -- Part 6
Yin-Yang Harmony of Solidity and Agility -- Part 7
Yin-Yang Harmony of Solidity and Agility -- Part 8
Yin-Yang Harmony of Solidity and Agility -- Part 9
The Advantages of using a Poise Pattern -- Overview
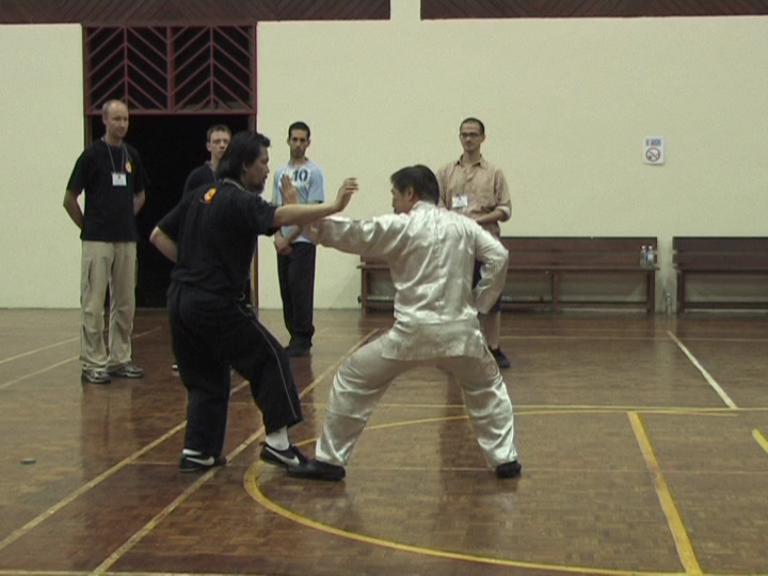 Asking the Way -- Overview
The Crucial Last Step in Moving In -- Overview
Making Footwork Adjustment -- Overview
Stance-Training Poises to Develop Internal
Force -- Overview
Get the Form Correct and be Relaxed -- Overview
Yin-Yang Harmony of Solidity and Agility
-- Overview
