VIDEO-CLIPS-5n
Wing Choon Kungfu 2010
 Wing Choon Kungfu -- Videos
Videos of
Wing Choon Kungfu Course 2010 -- Overview
Wing Choon Kungfu -- Videos
Videos of
Wing Choon Kungfu Course 2010 -- OverviewDeveloping Internal Force using Siu Lin Tou
Learning the Form of Siu Lin Tou
Cham Kiew or Searching for Bridge
Phew Chee or Thrusting Fingers
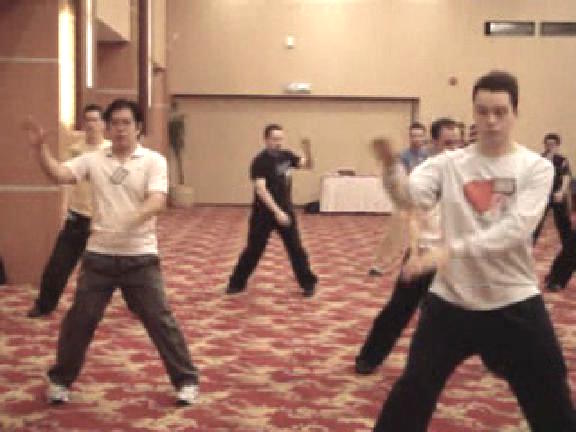
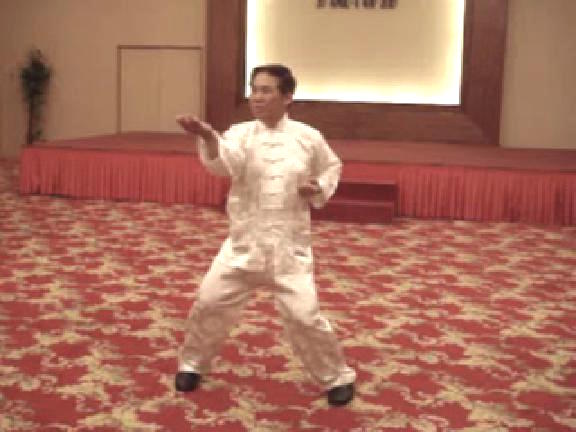
Reviewing the Basic Stances
Form Level of Siu in Tou
Using Energy Flow to Move Form
Energy-Flow Level of Siu Lin Tou
Converting Energy-Flow to Internal Force
Internal Force Level of Siu Lin Tou
Hard amd Soft Internal Force
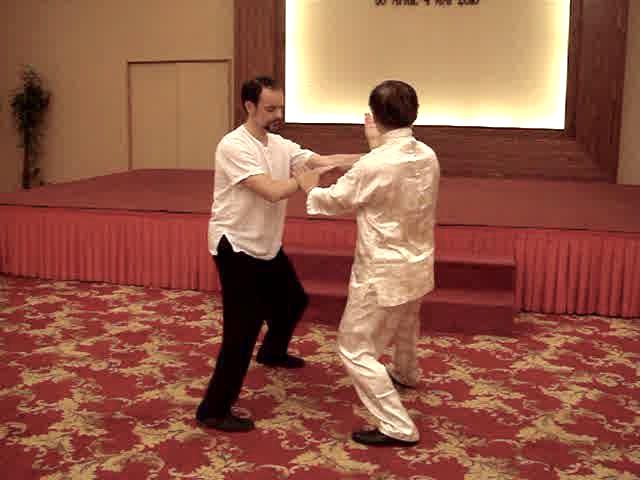
Introduction to Chi Sau
Importance of Waist Rotation
Phong Sau and Kham Sau againstMiddle Attacks
Low Attacks and their Defences
Chiet Sau or Cutting Hand against Side Attacks
Form Level of Cham Kiew
Using Energy to Move Form, and Converting Energy to Internal Force
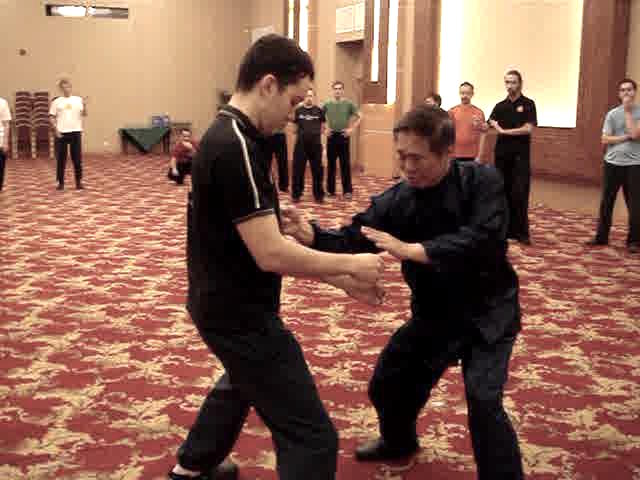
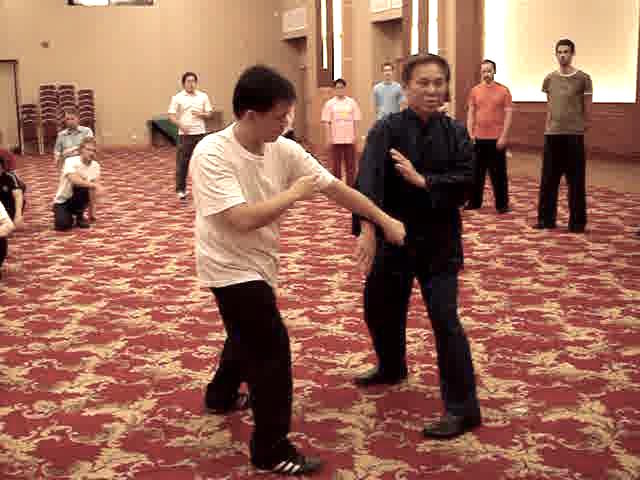
Sequences of Attacks and Counters
Applying Wing Choon Patterns for Combat
Basic Hand Techniques of Wing Choon Chi Sau
Developing Thien Keng or Sensing Skill
Training of Energy and Mind
Use of Tactics in Wing Choon Kungfu
Sensing with Mind in Wing Choon Kungfu
Sap Luk Sau or Sixteen Hand Techniques of Wing Choon Kungfu
Practicing Sap Luk Sau of Wing Choon Kungfu Blind-Folded
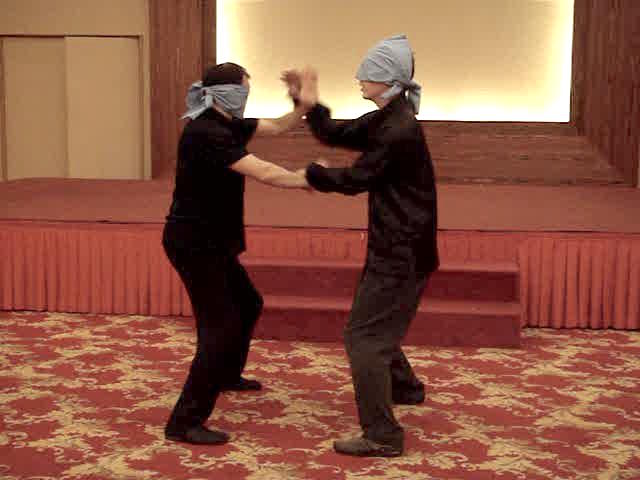
Free Movement Chi Sau in Blind-Fold
Taming or Locking Opponent and Simutaneously Striking Him
 Excellent Counters Proposed by Course Participants
Exploiting Oppoanents' Weaknesses in Combat
When you are beig Locked and Pressed against a Wall
Moving from In-Gate to Out-Gate
Effective Counters against Holds and Grips
No-Defence-Direct-Counter against Formidable Bottom Attack
Horizonatal Chops and Crane Beaks in Side Attacks
Top and Middle Attacks and their Counters
Bottom and Side Attacks and their Counters
Learning the Form of Phew Chee
From Pattern Practice to Free Sparring
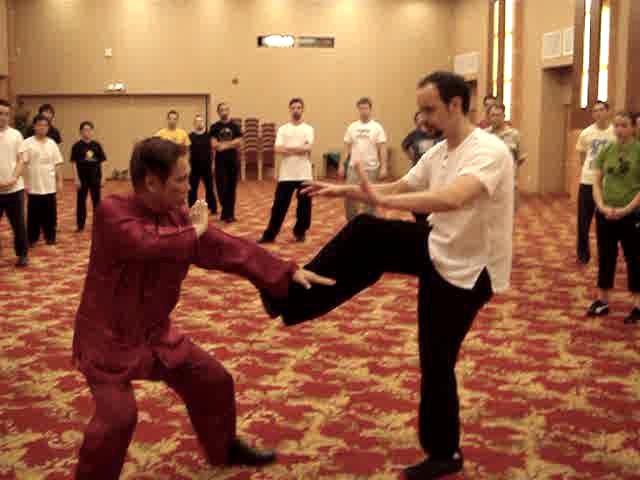
Thrust Kicks and their Counters
Smart Practice Makes Perfect
Understanding Wing Choon Principles and Practice
Practicing Chi Sau while being Blind-Folded
Effective Counters against Kicks
Cockerel Kicks against Whirlwind Kicks
Counters against Low Sweeping Kicks
Striking or Intercepting Opponents' Kicks
Sap Ye Theak or Twelve Kicks
How would You Escape from this Difficult Situation
Felling a Giant Almost Effortlessly
Turning a Weakness into a Strength
Butterfly Palms against Double-Grip Chin-Na Attcks
Do You Know the Combat Application of these Apparantly Useless Patterns?
Sophisticated Applications of Seemingly Harmless Patterns
Have Fun Deciphering Sophisticated Applications from Innocent-Looking Patterns
Big and Small Movements in Wing Choon Hand Techniques
The Course is Full of Interesting Surprises
Felling Techniques in Wing Choon Kungfu
 Neutralizing Opponents' Attacks with Legs
Wing Choon Chin-Na and Counters
Thiet-Cheit-Na or Felling-Kneeing-Gripping
How Elegant Ladies can Handle Muscular Brutes
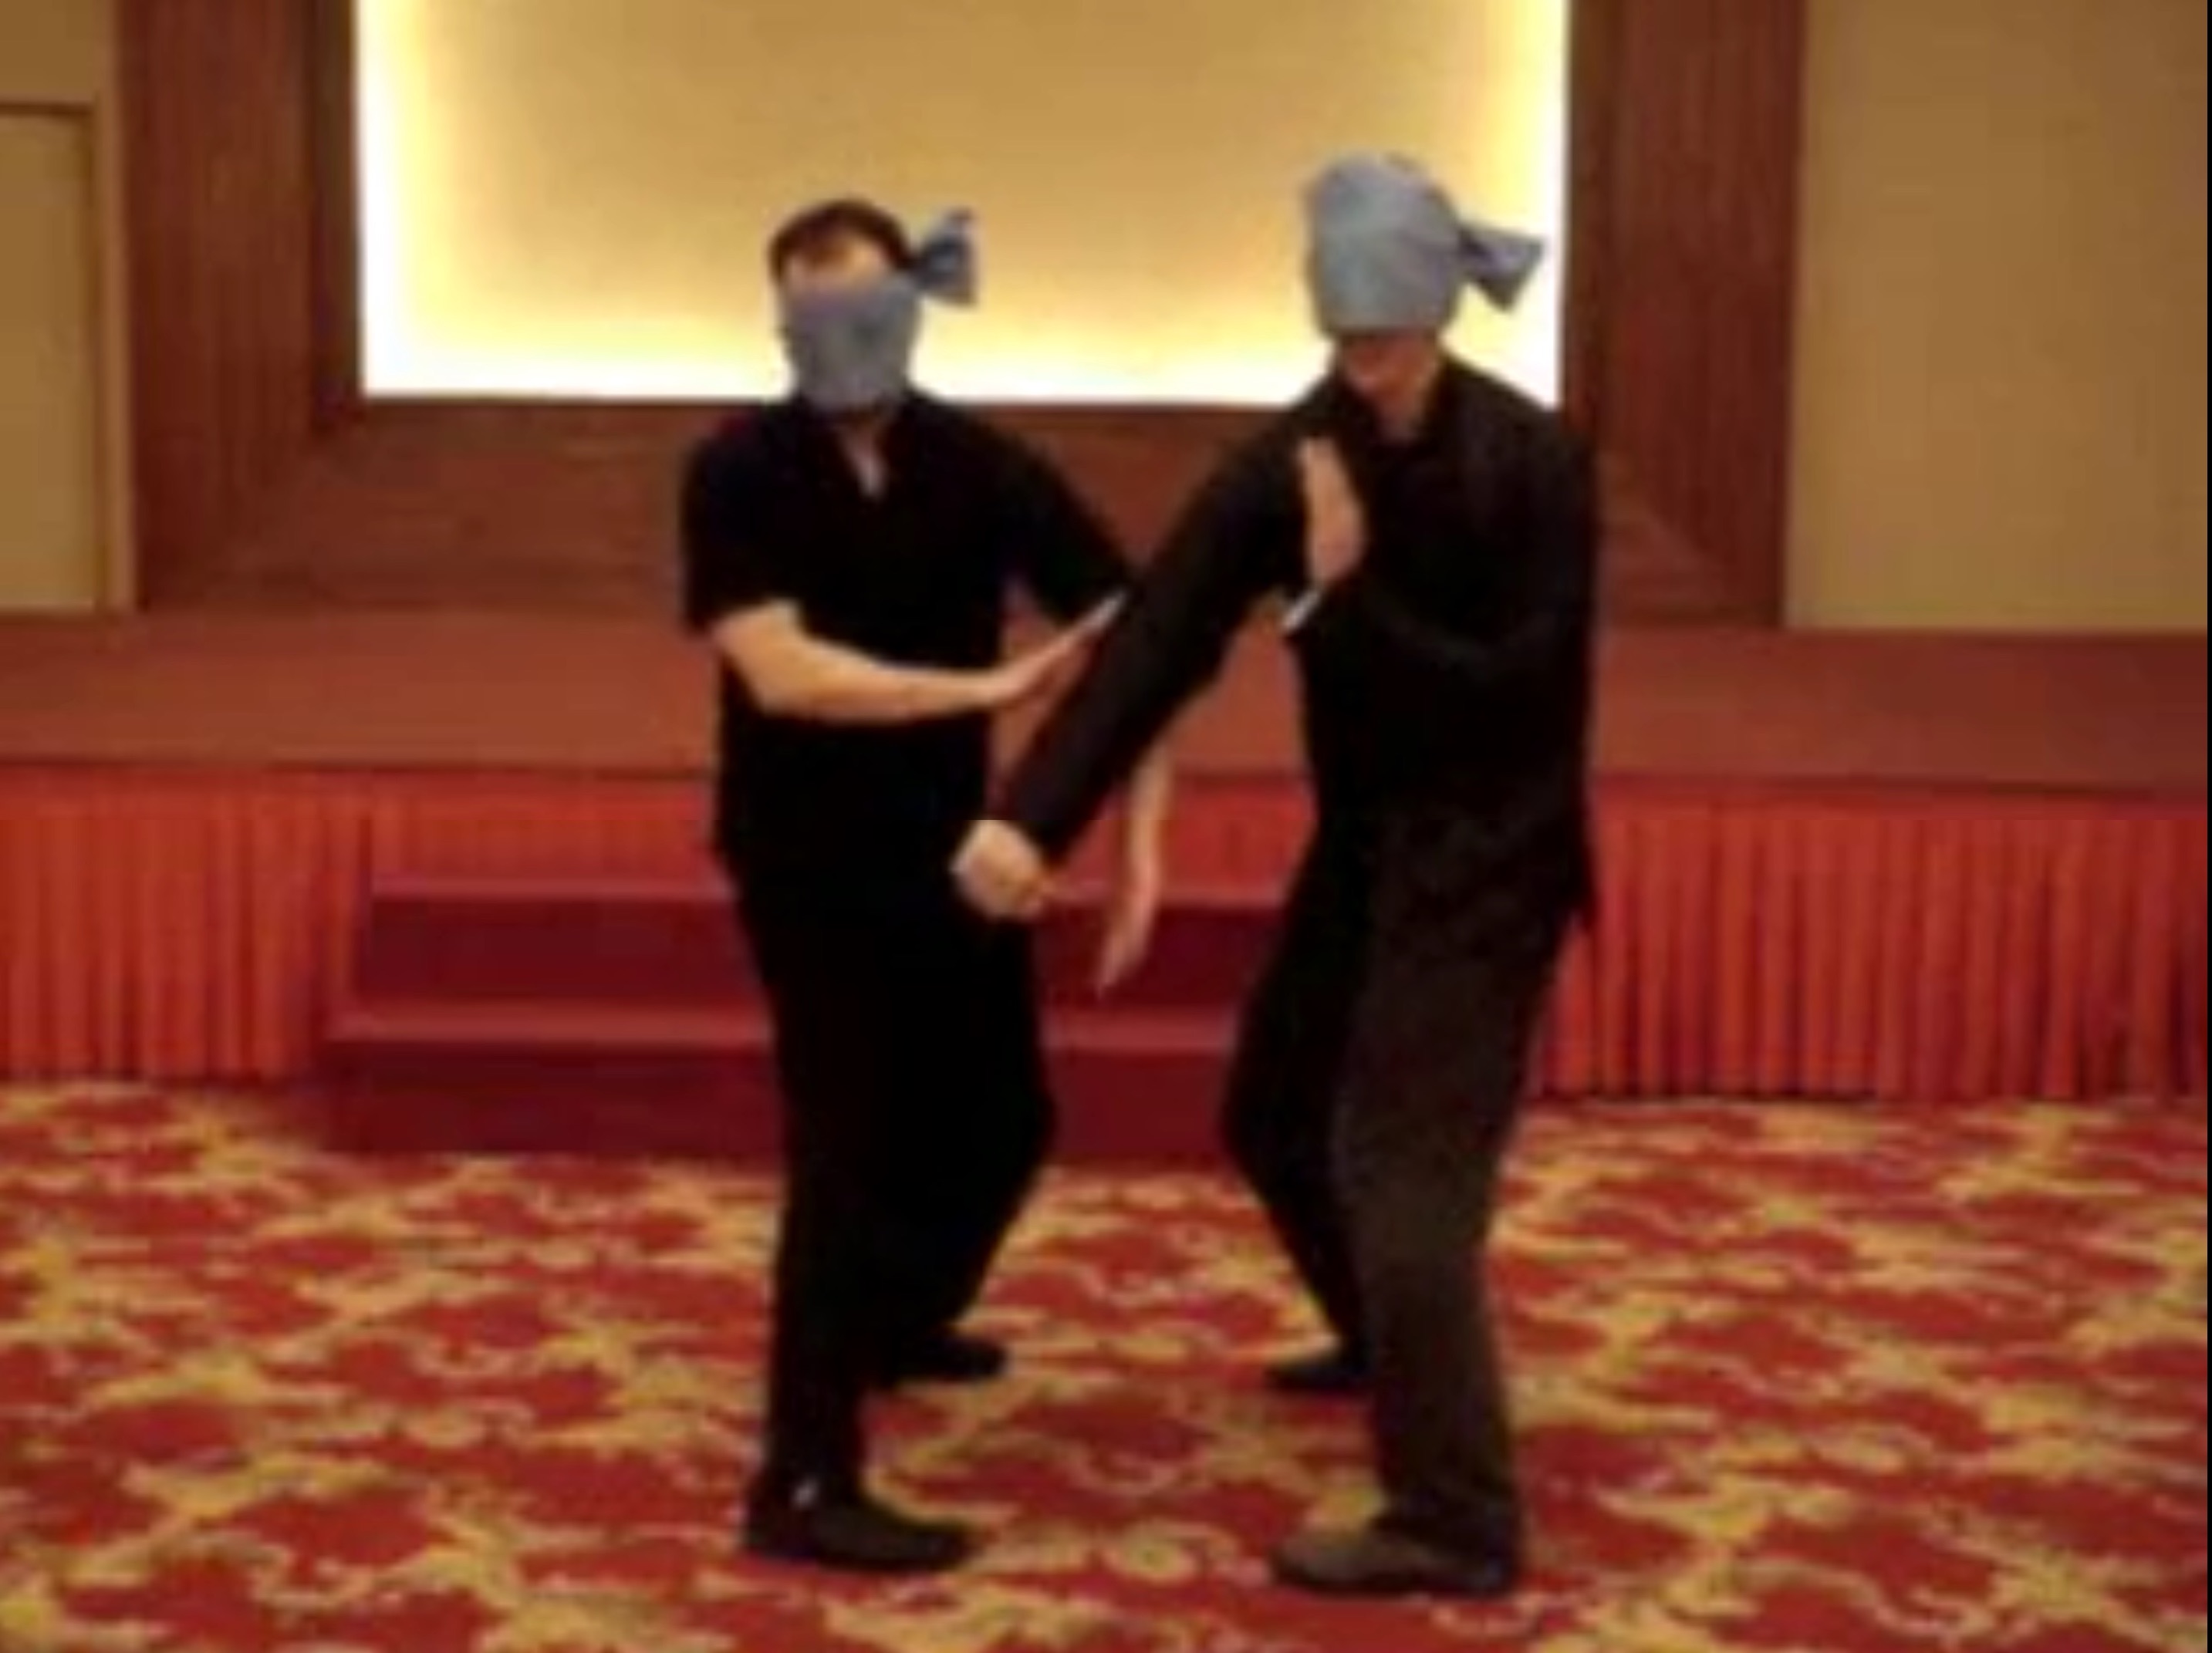
Free Sparring while being Blind-Folded
Deflecting Attacks without Looking at Them
Moving from Technique-Level to Sequence-Level in Sparring
Small Difference in Movement Nig Difference in Result
Applying Planned Sequence in Sparring Irrespective of Response!
Don't Hand your Defeat to your Opponent
Marvelous Techniques beget Marvelous Techniques
Creating Opportunities to Defeat Opponents
Secrets of Crane Beak and Double Punch
Open Secrets and Close Secrets
Secrets of Sequence Sparring
Covering the Fast Strikes of a Boxer
Avoiding the Strong Pointsof a Boxer and Attacking his Weakness
Counters against Hooks and Undercuts
Handling Aggressive Attackers and Counters against Chain Punches
Attacking the Waekness of Kick-Boxers
Moving to Back of Opponent who Kicks
Effective Counters against Taekwondo Kicks
Counters against Muay Thai Attacks
When Leg Comes Counter with Leg
Shoots, Lifts and Pin-Downs
Lazy Man Smokes Pipe
Having Fun with Wrestling Attacks and Counters
How did Past Wing Choon Masters Deal with Wrestlers and Grapplers?
Free Movement Chi Sau while being Blind-Folded
Sap Luk Sau or Sixteen Hand Techniques
 Sap Ye Theak or Twelve Kicks
Thiet-Cheit-Na or Fell-Knee-Grip
Wing Choon Kungfu -- Wing Choon 01 The Form-Level of Siu Lin Tou
Reviewing the Basic Stances
Reviewing the Basic Stances -- Part 1
Reviewing the Basic Stances -- Part 2
Reviewing the Basic Stances -- Part 3
Reviewing the Basic Stances -- Part 4
Reviewing the Basic Stances -- Part 5
Reviewing the Basic Stances -- Part 6
Reviewing the Basic Stances -- Part 7
Reviewing the Basic Stances -- Part 8
Reviewing the Basic Stances -- Part 9
Internal Force Level of Sou Lin Tou
Hard and Soft Internal Force
Reviewing the Basic Stances -- Part 12
Form-Level of Siu Lin Tou -- Part 1
Form-Level of Siu Lin Tou -- Part 2
Form-Level of Siu Lin Tou -- Part 3
Form-Level of Siu Lin Tou -- Part 4
Form-Level of Siu Lin Tou -- Part 5
Form-Level of Siu Lin Tou -- Part 6
Using Energy Flow to Move Form -- Part 1
Using Energy Flow to Move Form -- Part 2
Using Energy Flow to Move Form -- Part 3
Using Energy Flow to Move Form -- Part 4
Using Energy Flow to Move Form -- Part 5
Using Energy Flow to Move Form -- Part 6
Using Energy Flow to Move Form -- Part 7
Using Energy Flow to Move Form -- Part 8
Using Energy Flow to Move Form -- Part 9
Using Energy Flow to Move Form -- Part 10
 Energy-Flow Level of Siu Lin Tou -- Part 1
Energy-Flow Level of Siu Lin Tou -- Part 2
Energy-Flow Level of Siu Lin Tou -- Part 3
Energy-Flow Level of Siu Lin Tou -- Part 4
Energy-Flow Level of Siu Lin Tou -- Part 5
Energy-Flow Level of Siu Lin Tou -- Part 6
Energy-Flow Level of Siu Lin Tou -- Part 7
Energy-Flow Level of Siu Lin Tou -- Part 8
Energy-Flow Level of Siu Lin Tou -- Part 9
Converting Energy Flow to Internal Force -- Part 1
Converting Energy Flow to Internal Force -- Part 2
Converting Energy Flow to Internal Force -- Part 3
Converting Energy Flow to Internal Force -- Part 4
Converting Energy Flow to Internal Force -- Part 5
Converting Energy Flow to Internal Force -- Part 6
Converting Energy Flow to Internal Force -- Part 7
Converting Energy Flow to Internal Force -- Part 8
Converting Energy Flow to Internal Force -- Part 9
Converting Energy Flow to Internal Force -- Part 10
Converting Energy Flow to Internal Force -- Part 11
Internal Force Level of Siu Lin Tou -- Part 1
Internal Force Level of Siu Lin Tou -- Part 2
Internal Force Level of Siu Lin Tou -- Part 3
Internal Force Level of Siu Lin Tou -- Part 4
Internal Force Level of Siu Lin Tou -- Part 5
Internal Force Level of Siu Lin Tou -- Part 6
Internal Force Level of Siu Lin Tou -- Part 7
Internal Force Level of Siu Lin Tou -- Part 8
Internal Force Level of Siu Lin Tou -- Part 9
Hard and Soft Internal Force -- Part 1
 Hard and Soft Internal Force -- Part 2
Hard and Soft Internal Force -- Part 3
Hard and Soft Internal Force -- Part 4
Hard and Soft Internal Force -- Part 5
Hard and Soft Internal Force -- Part 6
Hard and Soft Internal Force -- Part 7
Hard and Soft Internal Force -- Part 8
Hard and Soft Internal Force -- Part 9
Hard and Soft Internal Force -- Part 10
Hard and Soft Internal Force -- Part 11
Hard and Soft Internal Force -- Part 12
Using Energy Flow to Move Form -- Overview
Energy-Flow Level of Siu Lin Tou -- Overview
Converting Energy Flow to Internal Force -- Overview
Internal Force Level of Siu Lin Tou -- Overview
Hard and Soft Internal Force -- Overview
Wing Choon Kungfu -- Wing Choon 02 Introduction to Chi Sau -- Part 1
Introduction to Chi Sau -- Part 2
Introduction to Chi Sau -- Part 3
Introduction to Chi Sau -- Part 4
Introduction to Chi Sau -- Part 5
Introduction to Chi Sau -- Part 6
Introduction to Chi Sau -- Part 7
Introduction to Chi Sau -- Part 8
Introduction to Chi Sau -- Part 9
Introduction to Chi Sau -- Part 10
 The Importance of Waist Rotation -- Part 1
The Importance of Waist Rotation -- Part 2
The Importance of Waist Rotation -- Part 3
The Importance of Waist Rotation -- Part 4
The Importance of Waist Rotation -- Part 5
The Importance of Waist Rotation -- Part 6
The Importance of Waist Rotation -- Part 7
The Importance of Waist Rotation -- Part 8
The Importance of Waist Rotation -- Part 9
The Importance of Waist Rotation -- Part 10
The Importance of Waist Rotation -- Part 11
Phong Sau and Kham Sau against Middle Attacks -- Part 1
Phong Sau and Kham Sau against Middle Attacks -- Part 2
Phong Sau and Kham Sau against Middle Attacks -- Part 3
Phong Sau and Kham Sau against Middle Attacks -- Part 4
Phong Sau and Kham Sau against Middle Attacks -- Part 5
Phong Sau and Kham Sau against Middle Attacks -- Part 6
Phong Sau and Kham Sau against Middle Attacks -- Part 7
Phong Sau and Kham Sau against Middle Attacks -- Part 8
Phong Sau and Kham Sau against Middle Attacks -- Part 9
Low Attacks and their Defences -- Part 1
Low Attacks and their Defences -- Part 2
Low Attacks and their Defences -- Part 3
Low Attacks and their Defences -- Part 4
Low Attacks and their Defences -- Part 5
Low Attacks and their Defences -- Part 6
Chiek Sau or Cutting Hand or Side Attacks -- Part 1
Chiek Sau or Cutting Hand or Side Attacks -- Part 2
Chiek Sau or Cutting Hand or Side Attacks -- Part 3
Chiek Sau or Cutting Hand or Side Attacks -- Part 4
 Chiek Sau or Cutting Hand or Side Attacks -- Part 5
Chiek Sau or Cutting Hand or Side Attacks -- Part 6
Chiek Sau or Cutting Hand or Side Attacks -- Part 7
Chiek Sau or Cutting Hand or Side Attacks -- Part 8
Chiek Sau or Cutting Hand or Side Attacks -- Part 9
The Form Level of Cham Kiew -- Part 1
The Form Level of Cham Kiew -- Part 2
The Form Level of Cham Kiew -- Part 3
The Form Level of Cham Kiew -- Part 4
The Form Level of Cham Kiew -- Part 5
The Form Level of Cham Kiew -- Part 6
The Form Level of Cham Kiew -- Part 7
The Form Level of Cham Kiew -- Part 8
The Form Level of Cham Kiew -- Part 9
The Form Level of Cham Kiew -- Part 10
The Form Level of Cham Kiew -- Part 11
Using Energy to Direct Form, and Converting Energy to Internal Force -- Part 1
Using Energy to Direct Form, and Converting Energy to Internal Force -- Part 2
Using Energy to Direct Form, and Converting Energy to Internal Force -- Part 3
Using Energy to Direct Form, and Converting Energy to Internal Force -- Part 4
Using Energy to Direct Form, and Converting Energy to Internal Force -- Part 5
Using Energy to Direct Form, and Converting Energy to Internal Force -- Part 6
Sequence of Attacks and Counters -- Part 1
Sequence of Attacks and Counters -- Part 2
Sequence of Attacks and Counters -- Part 3
Sequence of Attacks and Counters -- Part 4
Sequence of Attacks and Counters -- Part 5
Sequence of Attacks and Counters -- Part 6
Sequence of Attacks and Counters -- Part 7
Sequence of Attacks and Counters -- Part 8
 Sequence of Attacks and Counters -- Part 9
Applying Wing Choon Patterns for Combat -- Part 1
Applying Wing Choon Patterns for Combat -- Part 2
Applying Wing Choon Patterns for Combat -- Part 3
Applying Wing Choon Patterns for Combat -- Part 4
Applying Wing Choon Patterns for Combat -- Part 5
Applying Wing Choon Patterns for Combat -- Part 6
Applying Wing Choon Patterns for Combat -- Part 7
Applying Wing Choon Patterns for Combat -- Part 8
Applying Wing Choon Patterns for Combat -- Part 9
Applying Wing Choon Patterns for Combat -- Part 10
Applying Wing Choon Patterns for Combat -- Part 11
Applying Wing Choon Patterns for Combat -- Part 12
Applying Wing Choon Patterns for Combat -- Part 13
Applying Wing Choon Patterns for Combat -- Part 14
Applying Wing Choon Patterns for Combat -- Part 15
Introduction to Chi Sau -- Overview
The Importance of Waist Rotation -- Overview
Phong Sau and Kham Sau against Middle Attacks -- Overview
Low Attacks and their Defences -- Overview
Chiek Sau or Cutting Hand or Side Attacks -- Overview
The Form Level of Cham Kiew -- Overview
Using Energy to Direct Form, and Converting Energy to Internal Force -- Overview
Sequence of Attacks and Counters -- Overview
Applying Wing Choon Patterns for Combat -- Overview
Wing Choon Kungfu -- Wing Choon 03 Basic Hand Techniques of Stationary Chi Sau -- Part 1
Basic Hand Techniques of Stationary Chi Sau -- Part 2
Basic Hand Techniques of Stationary Chi Sau -- Part 3
Basic Hand Techniques of Stationary Chi Sau -- Part 4
Basic Hand Techniques of Stationary Chi Sau -- Part 5
Basic Hand Techniques of Stationary Chi Sau -- Part 6
Basic Hand Techniques of Stationary Chi Sau -- Part 7
Basic Hand Techniques of Stationary Chi Sau -- Part 8
Basic Hand Techniques of Stationary Chi Sau -- Part 9
Basic Hand Techniques of Stationary Chi Sau -- Part 10
 Basic Hand Techniques of Stationary Chi Sau -- Part 11
Developing Thien Keng or sensing Skills -- Part 1
Developing Thien Keng or sensing Skills -- Part 2
Developing Thien Keng or sensing Skills -- Part 3
Developing Thien Keng or sensing Skills -- Part 4
Developing Thien Keng or sensing Skills -- Part 5
Developing Thien Keng or sensing Skills -- Part 6
Developing Thien Keng or sensing Skills -- Part 7
Developing Thien Keng or sensing Skills -- Part 8
Developing Thien Keng or sensing Skills -- Part 9
Training of Energy and Mind -- Part 1
Training of Energy and Mind -- Part 2
Training of Energy and Mind -- Part 3
Training of Energy and Mind -- Part 4
Training of Energy and Mind -- Part 5
Training of Energy and Mind -- Part 6
Training of Energy and Mind -- Part 7
Training of Energy and Mind -- Part 8
The Use of Tactics -- Part 1
The Use of Tactics -- Part 2
The Use of Tactics -- Part 3
The Use of Tactics -- Part 4
The Use of Tactics -- Part 5
The Use of Tactics -- Part 6
The Use of Tactics -- Part 7
The Use of Tactics -- Part 8
The Use of Tactics -- Part 9
The Use of Tactics -- Part 10
Sensing with the Mind -- Part 1
Sensing with the Mind -- Part 2
 Sensing with the Mind -- Part 3
Sensing with the Mind -- Part 4
Sensing with the Mind -- Part 5
Sensing with the Mind -- Part 6
Sensing with the Mind -- Part 7
Sensing with the Mind -- Part 8
Sensing with the Mind -- Part 9
Sensing with the Mind -- Part 10
Sensing with the Mind -- Part 11
Sensing with the Mind -- Part 12
Sap Luk Sau or Sixteen Hand Techniques -- Part 1
Sap Luk Sau or Sixteen Hand Techniques -- Part 2
Sap Luk Sau or Sixteen Hand Techniques -- Part 3
Sap Luk Sau or Sixteen Hand Techniques -- Part 4
Sap Luk Sau or Sixteen Hand Techniques -- Part 5
Sap Luk Sau or Sixteen Hand Techniques -- Part 6
Sap Luk Sau or Sixteen Hand Techniques -- Part 7
Sap Luk Sau or Sixteen Hand Techniques -- Part 8
Sap Luk Sau or Sixteen Hand Techniques -- Part 1
Performing Sap Luk Sau Blind-Folded -- Part 2
Performing Sap Luk Sau Blind-Folded -- Part 3
Performing Sap Luk Sau Blind-Folded -- Part 4
Performing Sap Luk Sau Blind-Folded -- Part 5
Performing Sap Luk Sau Blind-Folded -- Part 6
Performing Sap Luk Sau Blind-Folded -- Part 7
Performing Sap Luk Sau Blind-Folded -- Part 8
Free Movement Chi Dau in Blind-Fold -- Part 1
Free Movement Chi Dau in Blind-Fold -- Part 2
Free Movement Chi Dau in Blind-Fold -- Part 3
Free Movement Chi Dau in Blind-Fold -- Part 4
Free Movement Chi Dau in Blind-Fold -- Part 5Free Movement Chi Dau in Blind-Fold -- Part 6
Free Movement Chi Dau in Blind-Fold -- Part 7
Free Movement Chi Dau in Blind-Fold -- Part 8
Basic Hand Techniques of Stationary Chi Sau -- Overview
Developing Thien Keng or sensing Skills -- Overview
Training of Energy and Mind -- Overview
The Use of Tactics -- Overview
Sensing with the Mind -- Overview
Sap Luk Sau or Sixteen Hand Techniques -- Overview
Performing Sap Luk Sau Blind-Folded -- Overview
Free Movement Chi Dau in Blind-Fold -- Overview